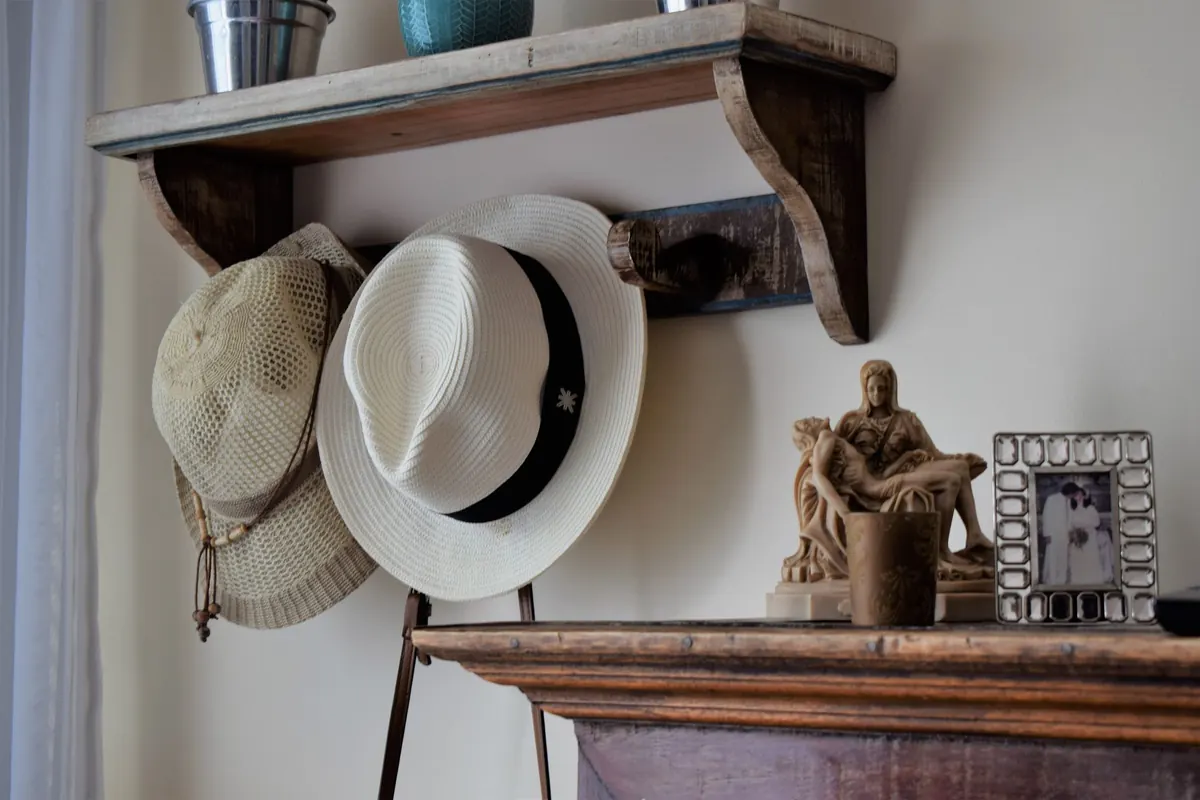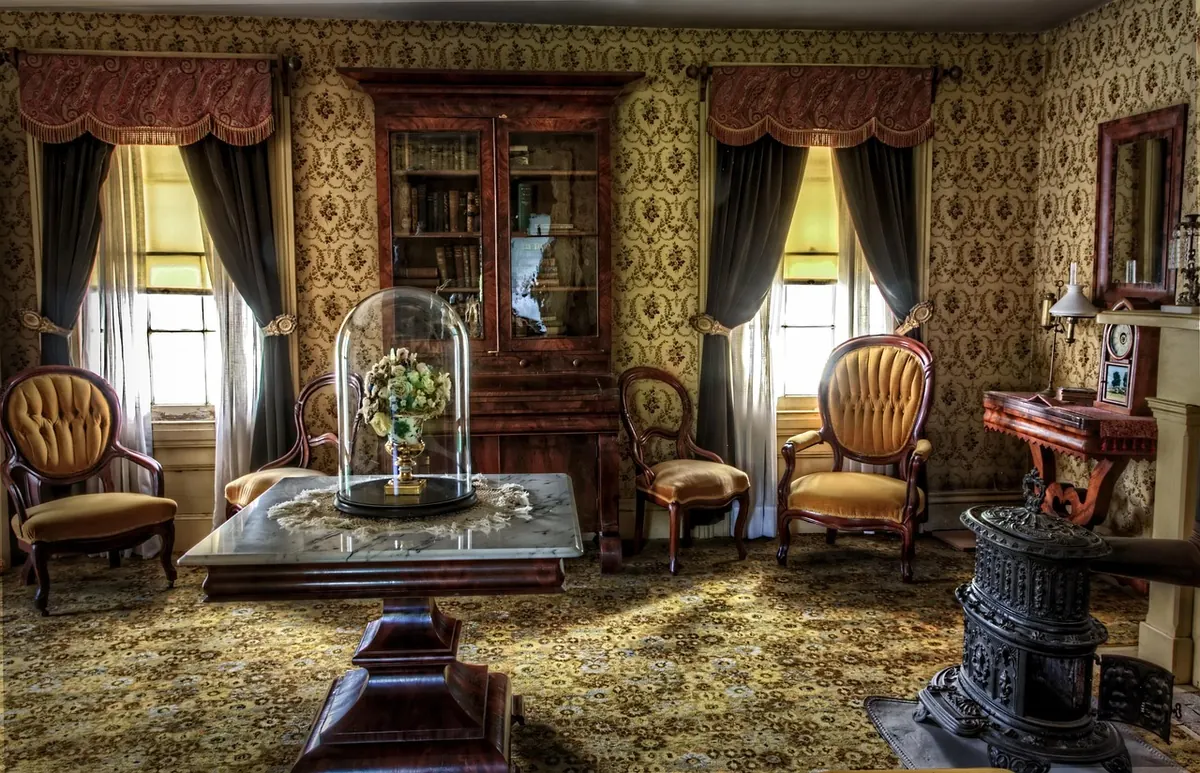
An Edwardian terrace hallway. A Victorian alcove beside a chimney breast. A spare room in a 1900s semi. The shelf looks simple until you drill the first hole and the bit spins through a centimetre of lime plaster, then drops into empty space. Period homes are generous with character and stingy with straight lines and solid fixing points. None of that makes shelving impossible. It just means doing a bit of detective work before the drill comes out.
What You're Actually Fixing Into
Most Victorian and Edwardian internal walls are lath and plaster. Narrow timber laths are nailed horizontally across vertical studs, and lime plaster is pressed through the gaps between them. The plaster that squeezes through sets as "keys" — little curls holding the whole surface onto the laths. It is a clever, breathable system, and after a century or more it is often tired, cracked and slightly detached from its background.
That matters because lath and plaster is a finish, not a structure. It will happily carry a small picture hook, a mirror or a lightweight ornament. It will not carry a shelf of hardbacks. Your fixings need to reach the studs behind the lath, or the brick behind everything.
Where walls are solid — brick or stone with plaster directly on top — you can fix straight into masonry. Victorian plaster can be surprisingly thick, sometimes two centimetres or more, so your screws and plugs may need to be longer than you expect. Start drilling without hammer action: the vibration shakes loose keys elsewhere on the wall, and you will not notice the damage until a patch of plaster drops off six months later.
Finding the Timbers
Electronic stud finders are unreliable on lath and plaster. They sense changes in density, and a lath wall is full of them. Use a combination of methods instead:
- Tap and listen. A hollow, papery sound means the void between studs. A duller thud suggests timber. Mark what you hear in pencil.
- Use a magnet. Laths are nailed to studs, and those nails are steel. A strong magnet run across the wall will often find the nail heads sitting just under the paint, which tells you exactly where a stud is.
- Measure from a corner. Stud centres are often 300–450mm apart, but period builders rarely kept to a strict grid. Treat the measurement as a first guess, not gospel.
- Look from above or below. Lifting a floorboard upstairs, or peering up from a cellar, shows you the stud positions clearly. More effort, but reliable.
- Pilot holes. A 2mm bit every 25mm along a pencilled line will find the studs quickly. Fill the misses with a dab of filler and they vanish under paint.
Once you have found them, mark a faint pencil line down the wall and sketch the positions on a scrap of paper. Every future shelf in that room becomes easier.
Fixings That Suit Old Walls
Into studs, long screws are the answer — 75mm to 100mm, depending on plaster thickness. Pilot drill first so you do not split old, dry timber, and drive them by hand or on a low clutch setting. A screw that spins in a split stud holds nothing.
Where there are no studs and the wall is lath only, spring toggle fixings will hold modest loads. Be honest about what that means. Old plaster is brittle, and a fixing pulling hard against it can crack a panel of keys that has held for a hundred years. For books or anything heavy, either find the studs or fit a horizontal batten or French cleat screwed into several studs and hang the shelf from that. Spreading the load across the wall is the whole trick.
On solid brick, use masonry plugs and screws. Drill into the brick rather than the mortar where you can; it grips better and does less damage to the wall's structure. Where you are working on lime plaster, use a breathable filler for the make-good rather than a hard cement-based one. Lime needs to move and breathe, and rigid filler simply cracks away from it.
Cornicing, Picture Rails and Skirting
Do not cut into cornicing. Run the top of the shelf just below the deepest point of the cornice, and finish it with a small moulding or an end stop so the gap reads as deliberate rather than as a mistake. Notching a cornice to squeeze a shelf in loses the detail permanently and looks clumsy up close — which, in a hallway, is exactly where everyone stands.
Picture rails are an ally. They are solid timber, usually fixed securely, and they will carry light shelves — a row of small plants, plates, a few paperbacks — on proper picture rail hooks and cord. They will not take a full bookcase, so keep the load gentle and check the rail is firmly attached before you trust it.
Skirting and dado rails deserve the same respect as the cornice. Sit a freestanding unit on top of the skirting rather than cutting a notch out of it. If the house is listed, or the cornice, panelling or rail is a historic feature, check with your local conservation officer before fixing anything to it.
Scribing to a Wall That Isn't Straight
Walls in period houses bow, lean and ripple, and a shelf cut square will show a gap that runs from nothing to a centimetre. Scribing solves it, and it is faster than trying to make the wall flat.
Hold the shelf or end panel in place roughly where it will sit. Set a pair of compasses to the widest gap between the timber and the wall, then run the point along the wall with the pencil marking the timber. Cut or plane back to the line, offer it up again, and repeat if needed. For a quicker version, use an offcut block and a pencil flat against the wall. Where the gap is small, a scribe moulding, a bead of decorator's caulk or a soft filler finishes the join neatly.
Pipes, Flues and Other Surprises
Cable detectors help, but old houses confuse them — lath nails, metal lath and foil-backed plaster all set them off. Treat every wall as though something is behind it. Cables usually run vertically above sockets and switches, and horizontally between them. Old gas and lead water pipes turn up almost anywhere, particularly near chimney breasts and on the wall between the front and back rooms. Keep the first 30mm of any drilling slow and shallow.
Chimney breasts need their own caution. A flue may be hidden inside the plaster, and drilling into one can open a route for soot and damp. Stay clear of the centre and fix into the flanking walls instead.
A Short Order of Work
- Decide the load first. Light shelves can use picture rails or toggles; heavy ones need studs or masonry.
- Find the timbers and mark them in pencil.
- Check for cables and pipes with a detector, then test-drill carefully.
- Fit a batten or cleat spanning at least two studs. It spreads the load and gives you something straight to work from.
- Scribe the shelf ends or the end panels to the wall.
- Fix, fill the redundant holes, and touch up the paint.
- Load it gradually and check for movement after a few days.
Old walls reward patience. A shelf that follows the wall's quirks, sits clear of the cornice and is fixed into something solid will look as though it has always been there. And in a house that has already survived a century of its owners' experiments, that is the best compliment you can pay it.
Photo: VinnyCiro / Pixabay